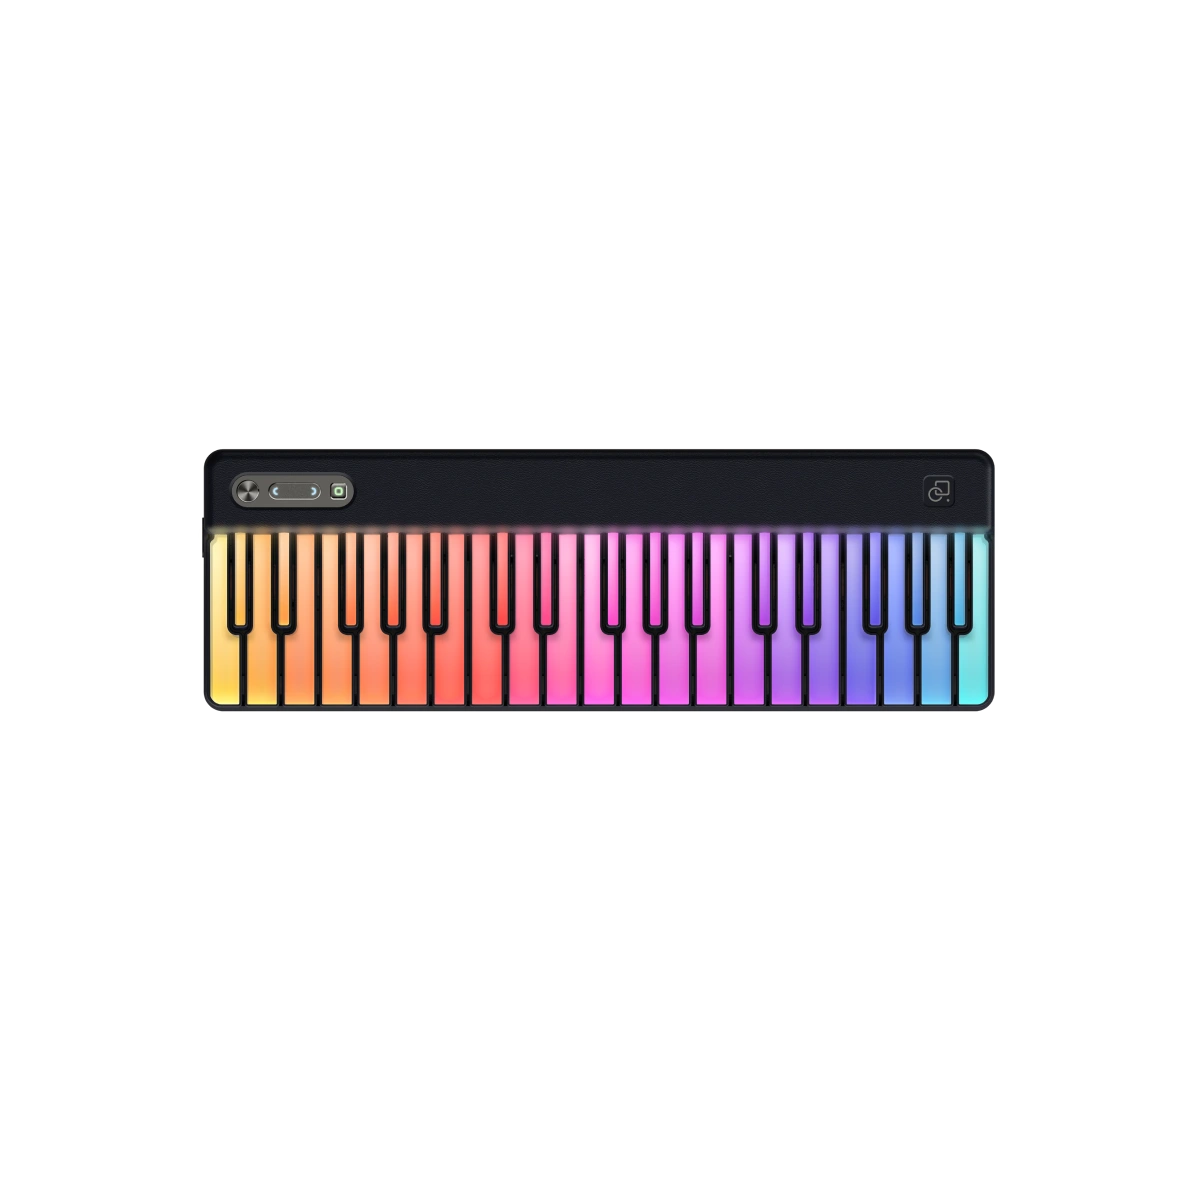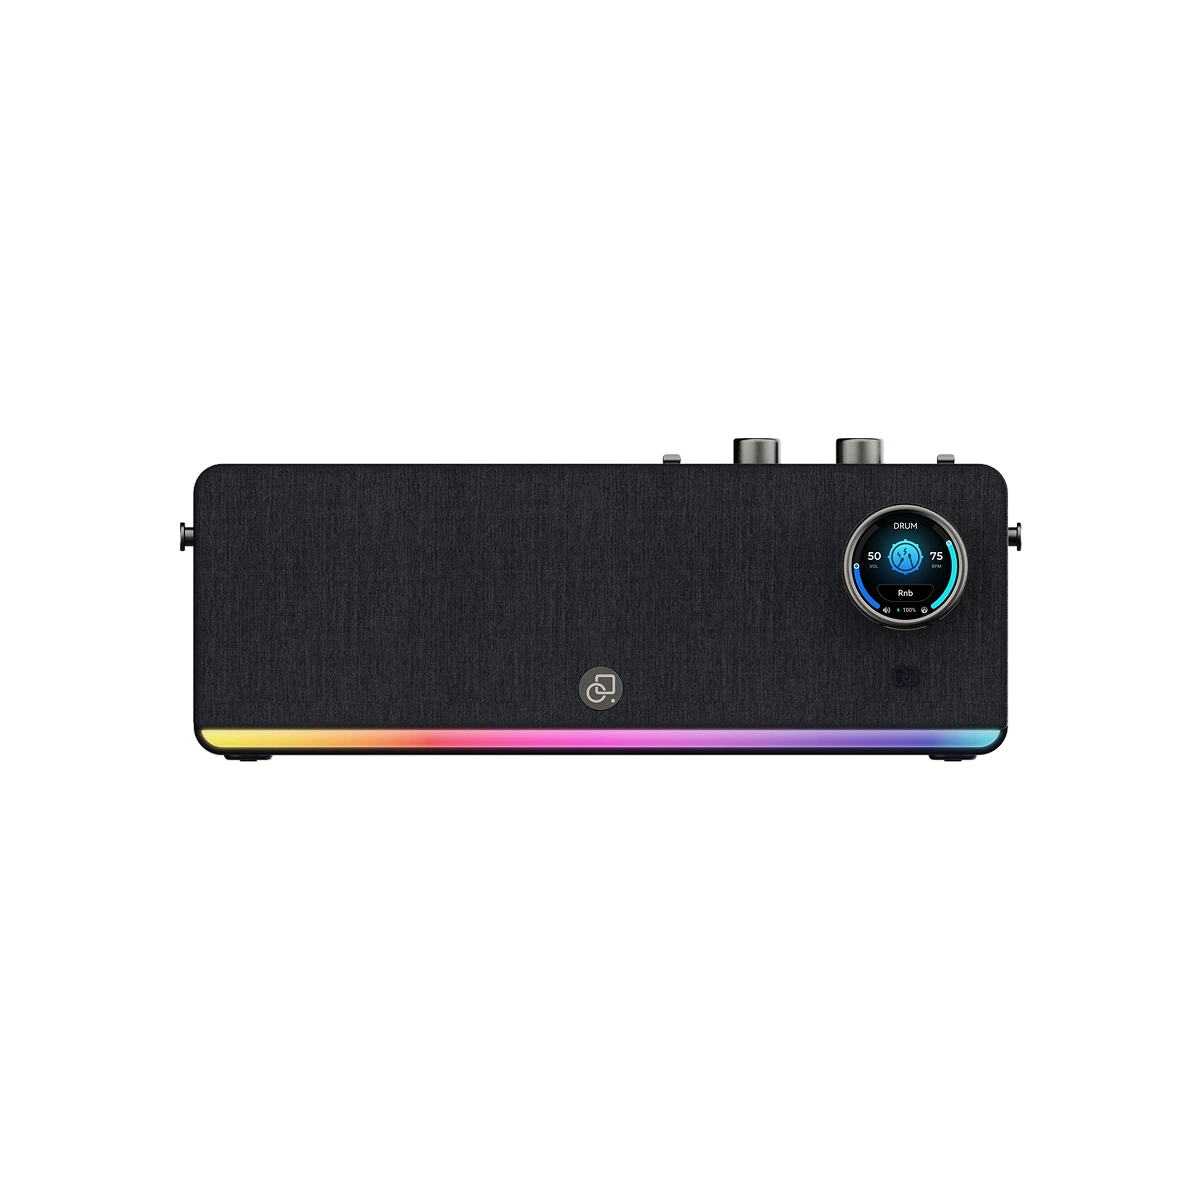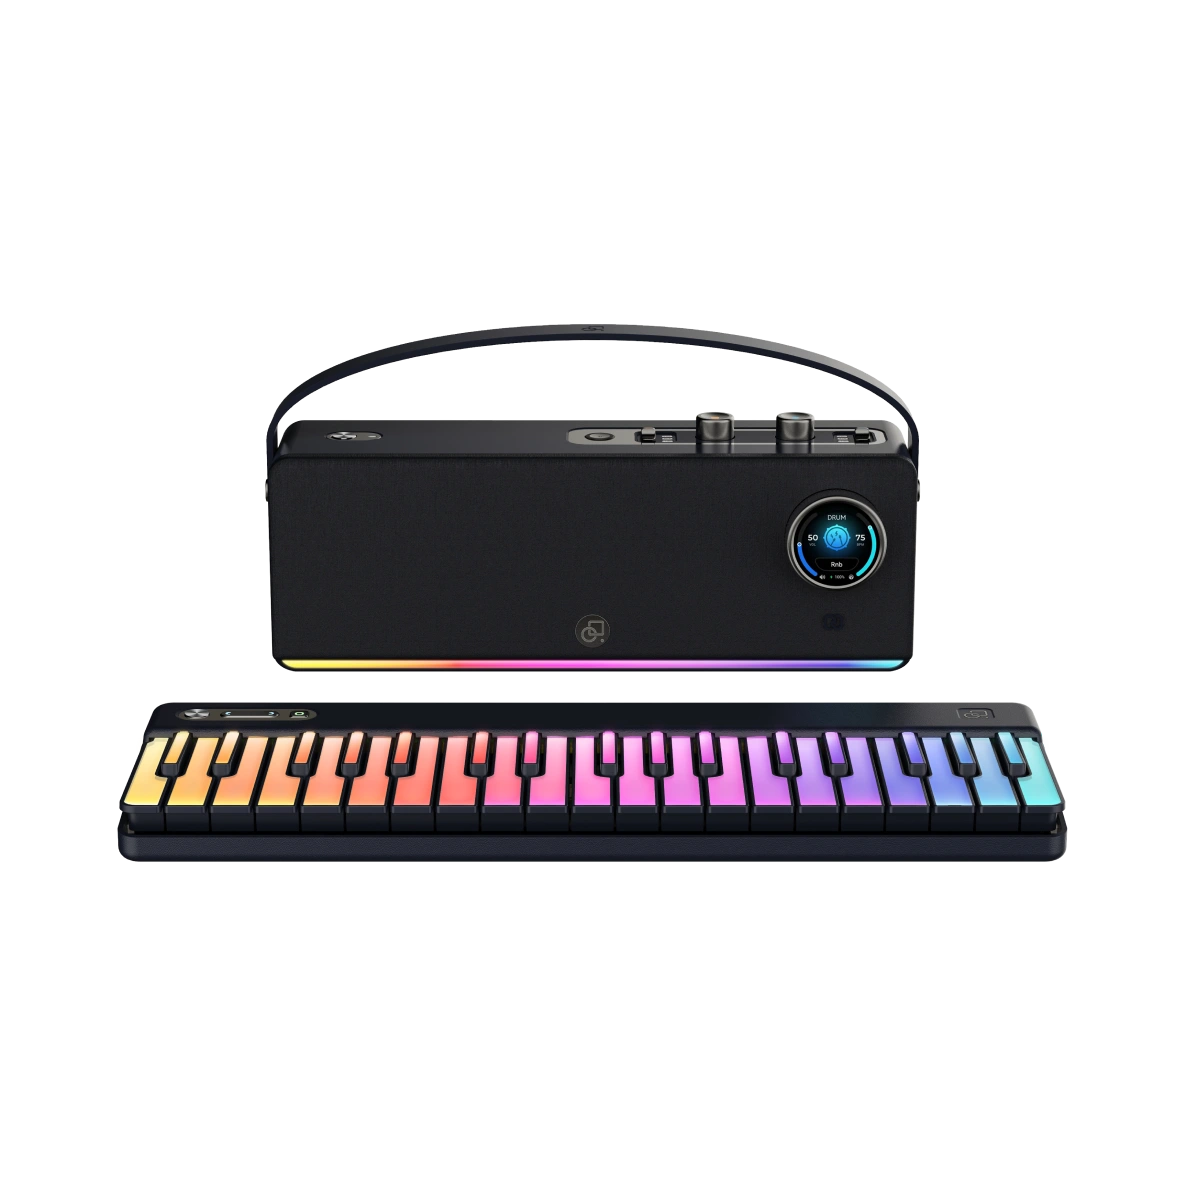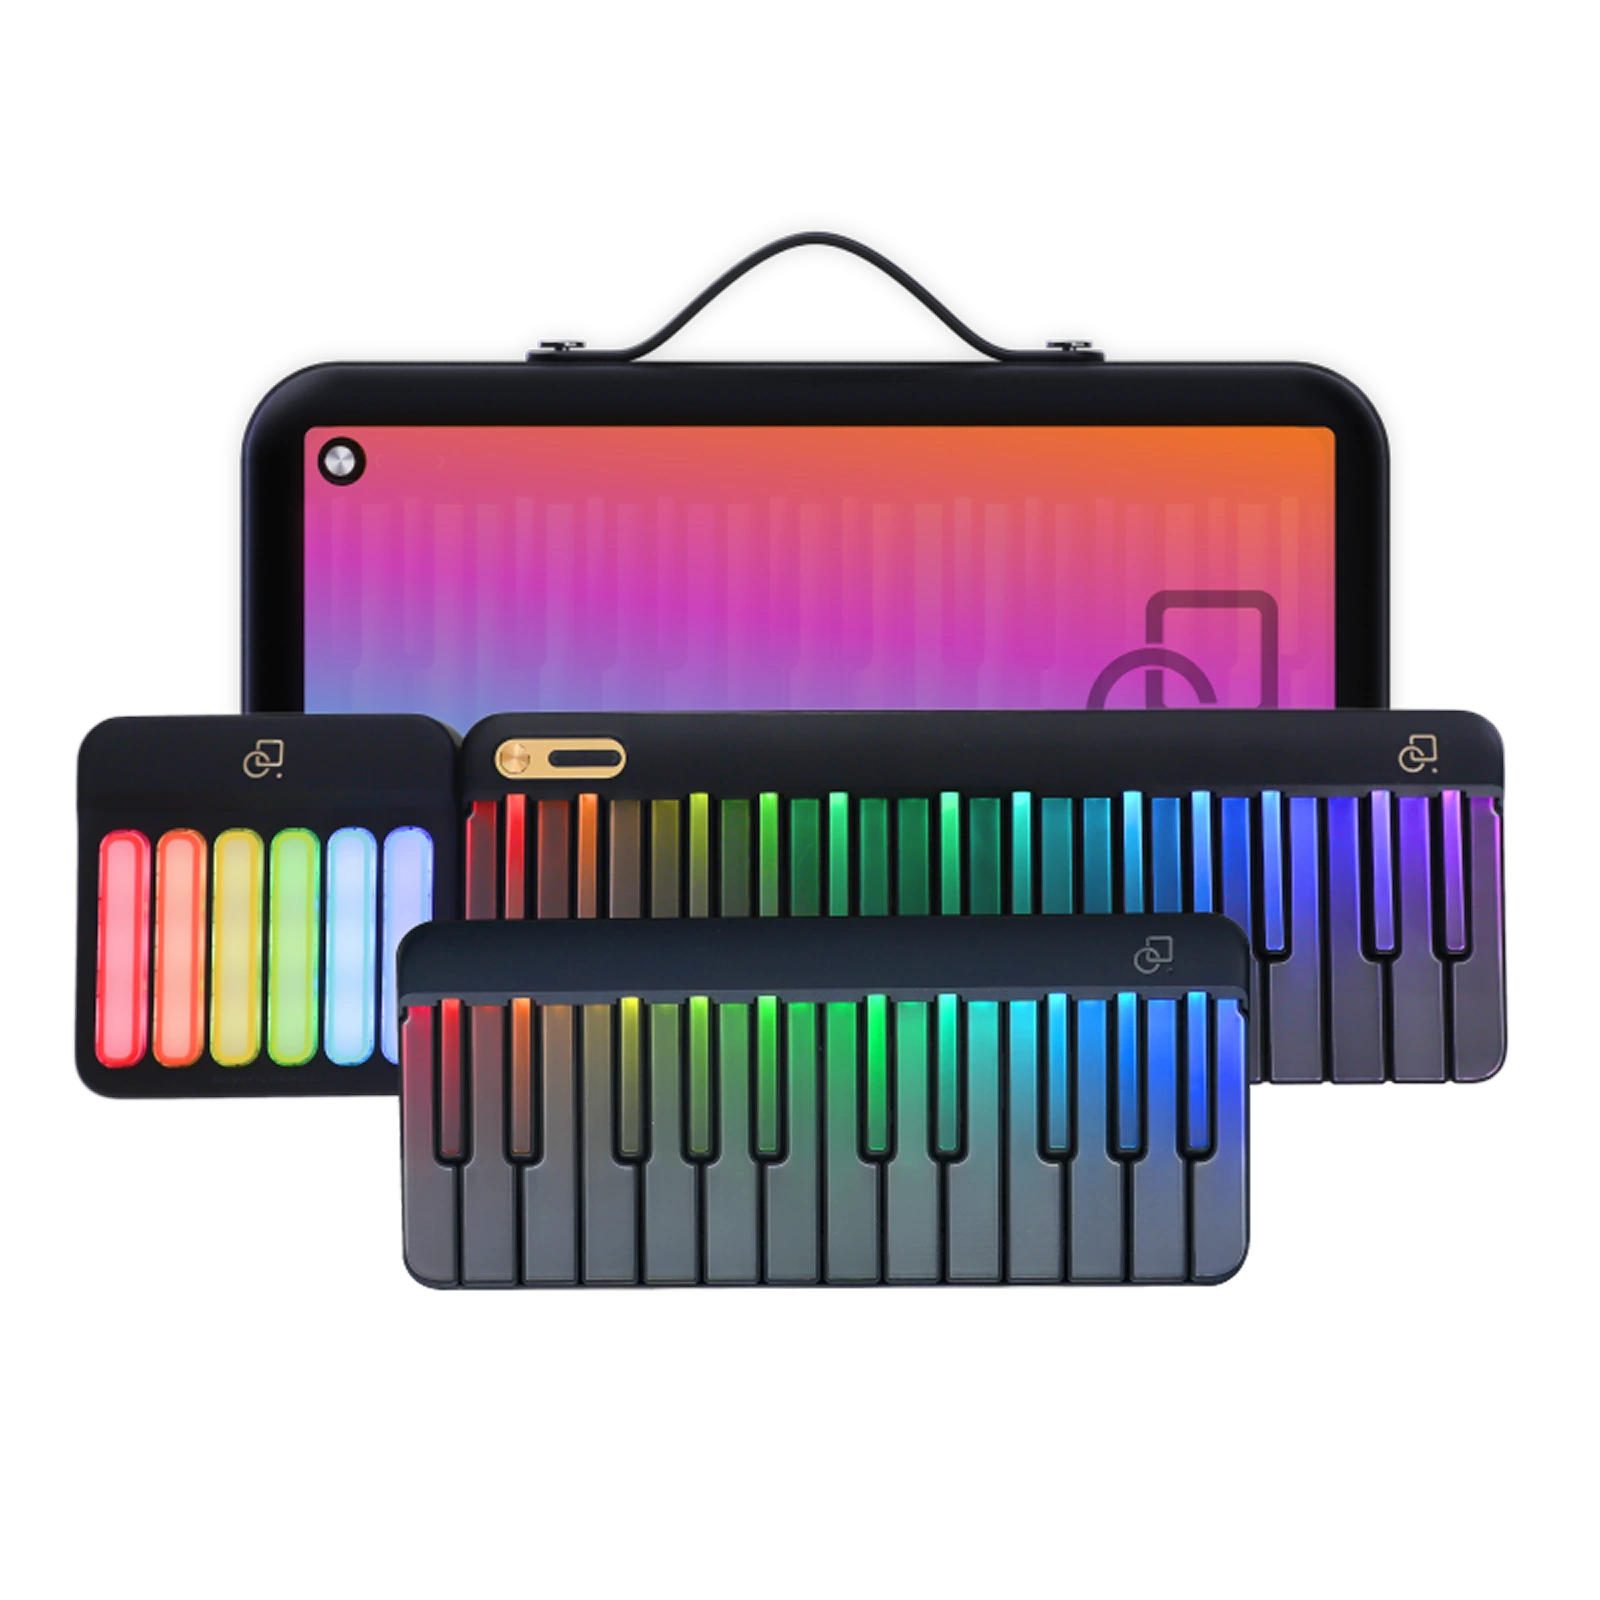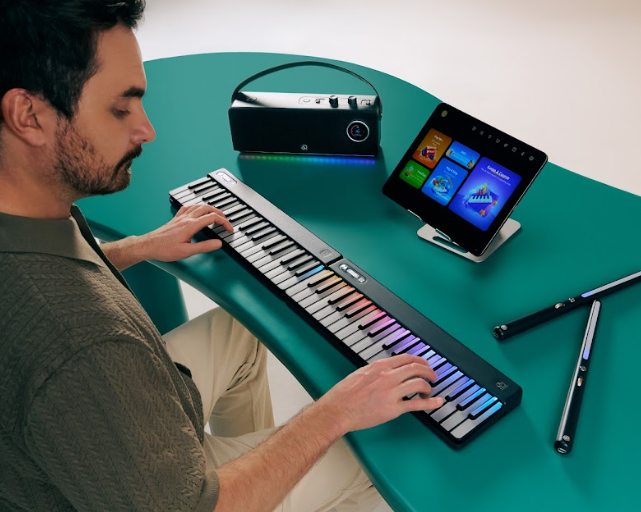
Recording your piano or smart keyboard on a laptop opens up endless possibilities for practice, composing, and sharing music. Whether you want to capture your sessions for review or create professional tracks, this guide walks you through how to record keyboard on laptop using USB connections, audio interfaces, and digital audio workstations (DAWs).
We’ll cover tools, setup, tips, and common pitfalls to help you get the best sound from your Smart Keyboard.

When recording your keyboard, the connection type determines both sound quality and ease of setup:
Digital Audio Workstations (DAWs) are software used to record, edit, and mix music. Popular options include Ableton Live, FL Studio, and GarageBand.
Steps to set up:
Tip: MIDI recording allows you to change instrument sounds later, while audio recording captures the exact piano sound.

Recording with USB MIDI is popular for smart keyboards:
Example Workflow:
For those who prefer the true sound of their keyboard:
Tip: Using an interface ensures the best fidelity, especially if your keyboard has weighted keys or realistic piano samples.
Virtual instruments (VSTs) let you enhance or replace your keyboard sound:
Example: Record MIDI from your Smart Keyboard and apply a grand piano VST for professional-sounding tracks.

Once recorded:
Tip: Keep MIDI files for flexibility and audio files for final listening or sharing.
Multi-track recording allows you to record several layers of piano or synth sounds on separate tracks.
Tip: Label each track clearly in your DAW to keep your project organized.
Monitoring with headphones ensures you hear exactly what’s being recorded:
Tip: Closed-back headphones are ideal to minimize external noise and reflections.
Recording your sessions is helpful for practice tracking or online lessons:
Tip: Name files with the date and piece name for easy reference.
Even with the best setup, issues may arise:
Tip: Restart both your laptop and keyboard if you encounter persistent problems.
Recording your keyboard on a laptop is straightforward once you choose the right connection method and DAW setup. Beginners can start with USB MIDI, while advanced users benefit from audio interfaces and VSTs. Explore the features of your Smart Keyboard and elevate your music with flexible recording options.
Using USB MIDI is simple for beginners and works with most DAWs. It captures notes and timing instead of audio.
Yes, apps like Audacity or Windows Voice Recorder can capture audio from line-in, but DAWs offer more editing options.
Not always, but an interface improves fidelity, reduces latency, and is recommended for serious recording.
Yes. Record MIDI data and assign VST instruments in your DAW to replicate or enhance the piano sound.
Minimal latency is common. Adjust DAW buffer settings to reduce delay between pressing keys and hearing sound.
Yes. Many DAWs allow simultaneous MIDI and audio recording, letting you keep editable MIDI data while also capturing the real keyboard sound.
For MIDI, use a USB-B to USB-A (or USB-C) cable. For audio recording, use a 1/4-inch TRS cable from your keyboard’s line-out to an audio interface.
Check your keyboard output level, audio interface gain, and DAW input settings. Increasing gain gradually can improve volume without adding noise.
Many modern keyboards are plug-and-play via USB MIDI, but some professional models may require drivers for full functionality and low latency.
Read more

How to Connect a Smart Keyboard to Android/iPhone via Bluetooth MIDI
Learning to play piano has never been more interactive, thanks to Bluetooth MIDI technology. Whether you’re using an Android or iPhone, connecting a smart keyboard like the PartyKeys Smart Keyboard...

Use Headphones with Digital Keyboards Without Lag
Learning piano or playing a keyboard should be smooth and immersive. But latency—the tiny delay between pressing a key and hearing the sound—can disrupt your practice and timing. This guide explain...